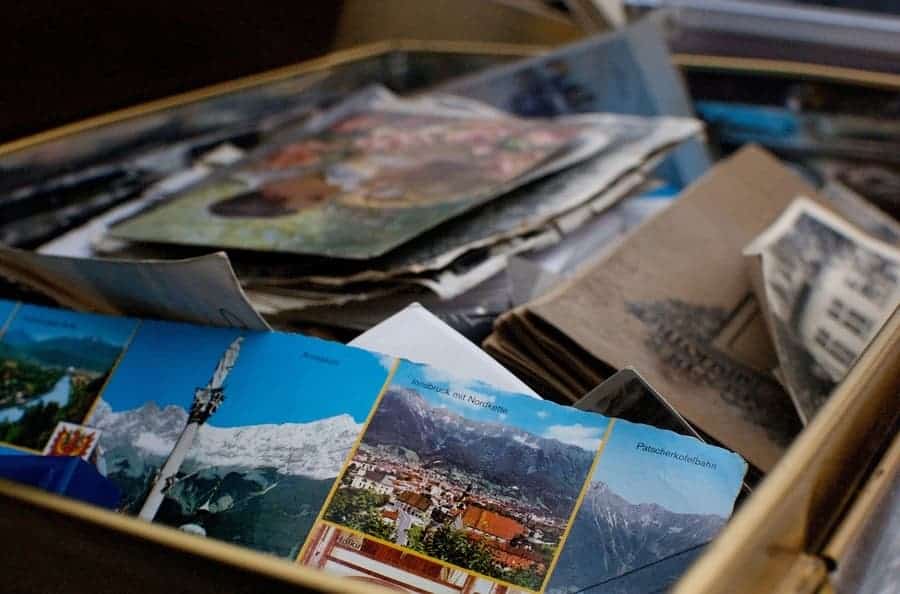
I recently asked my mom for my baby pictures. She handed me a photo album and a shoe box. The photo album had about 10 pages of pictures, and the rest of it was blank. Which explains the shoe box, containing the rest of my baby pictures. “I just haven’t got around to putting them all in there”, said my mom. You guys, I’m in my 40s! So basically, in the last 40 years, my mom hasn’t had the time to finish organizing her photos. Sound familiar?

It’s actually worse for my younger sister – she just got a shoe box. At least I had a half-finished photo album!
This is a great example of how we all have the best intentions of organizing our photos, but we just don’t take the time to make this a priority. It might be because there’s just SO MANY pictures to organize. Or maybe there’s too many options about how to do it, it just becomes an overwhelming task that we avoid. But in the meantime, we stress about trying to find old pictures, or backing them up so we don’t lose them. And the pictures just keep piling up into a unorganized files across multiple devices and locations.
It’s even harder to keep pictures organized now than before the internet (what, there was life before the internet??). Technology is supposed to make life easier, but when it comes to digital photos, it actually makes things much more complicated. It’s easier to take pictures, so we end up with WAAY more than before. Remember taking pictures with film cameras? You could only take 24 pictures on each roll, so you actually thought twice before taking a picture.

We also end up with pictures coming at us from multiple places, not just a film camera roll. Smartphones, social media, email… digital photos are easy to send and save, but you have to remember all these sources!
And again, while technology can definitely make like easier, you need to choose the right option that works for you. If you’re going to use cloud storage, which option is best? If you’re using a local computer, which program? If you’re using an external hard drive, which is the best brand? All of these seemingly simple questions can cause overwhelm… and well, just avoidance. So, we’re back to the digital piles of photo clutter.
I avoided organizing my digital photos for years. I had them saved in multiple locations, including old computers, old phones, my current smartphone, social media accounts. It didn’t seem like a HUGE deal. I’d get to it someday, right?
Then, I had a baby.

And suddenly, by the time he was a year old, I had over a 1000 pictures of him on my phone! Sure, they were backed up on my computer, but I still didn’t feel organized about it. Okay, it really was time to get organized. I wanted to be able to find photos easily, to create photobooks, and to just know that I wasn’t going to lose all those super-cute and precious pictures if my computer’s hard-drive failed.
There’s really two aspects to organizing your digital photos – SETTING UP your own system, and MAINTAINING it. A lot of people think the setting up is the harder part, but personally, I think maintaining it is a lot harder. Yes, setting it up is not necessarily easy, because you’re getting yourself to think about new processes, and you’re tracking down and transferring over all your photos. But it’s still a new project, and you’re looking forward to when all your photos will be nice and organized, and easy to access.
But, once you make it into maintaining mode, your photo project isn’t as bright and shiny anymore. Now it’s a process that you’ve given yourself to follow. Or, depending on where all the places your photos are coming from, maybe it’s a series of processes. So, the key is to make all those processes as simple as possible, so that you actually DO them!
So, here’s 5 steps to get your pictures organized. It’s a bit of a time investment, but it’s definitely worth it. And when you simplify the steps down, it’s not a hard thing to do. You just need to set aside a little bit of time to actually do it!
First things first: Ask yourself WHY you want to get organized
Knowing why you’re doing something is always key to committing to it. Your time is precious, and you don’t want to waste it. I personally love setting up processes, but I know that’s not everyone’s idea of fun 🙂
So, ask yourself: why do I really want to organize my photos? Here are my answers:
- So that my photos are easy to access and I can enjoy looking at them whenever I want
- To save all those precious memories
- Can enjoy the memories instead of having the stress of not knowing where they are or if they’ve been saved properly
- Privacy
- Easy to make photobooks or other photo projects

1. DESIGNATE a centralized photo library
One of the best tips I came across was to designate a centralized photo library, instead of having multiple locations for all your saved photos. This is such a simple concept! Yet, before I came across this tip, this was something that was causing me overwhelm. My digital pictures are in so many locations, how can I possibly keep track of all of them? Well, put them all in one spot!
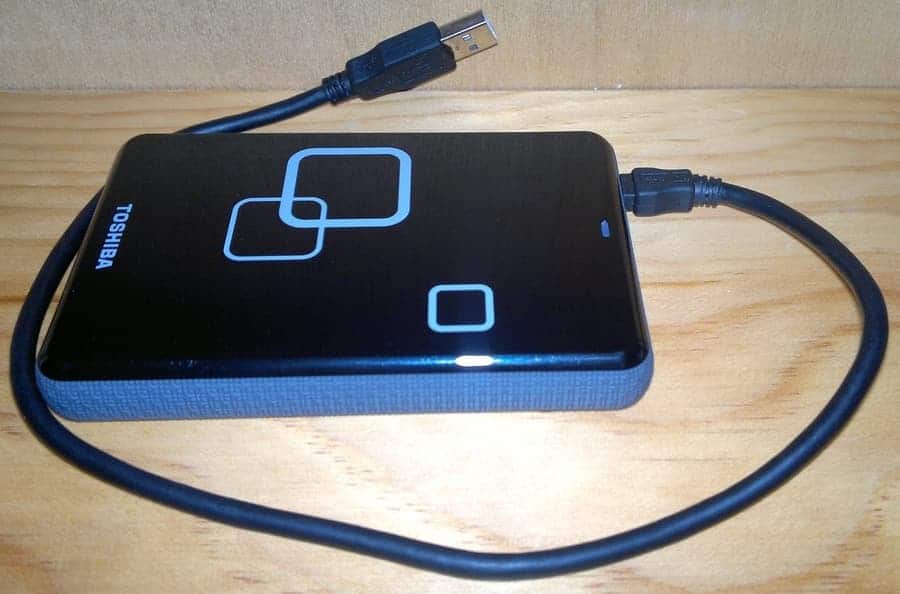
This can be either a cloud-based solution, or a local one, like your computer or an external hard drive. I opted for my computer, and an external hard drive back up. Without getting into too many of the details, the main reason is because I want to have access to it all the time, and for privacy reasons.
Imagine renting or borrowing space for your physical photo albums! And then you’re only allowed to access them during certain times (like when you’re online), or worst case, the store goes out of business and you lose all your photos.
A cloud-based solution is a great backup for your photos, but I think your primary access point should be local. However, this decision is really up to you. Choose an option that works best FOR YOU, and that you think you’re more likely to use.
Here are some tips when thinking about setting up your photo library:
Specific
Your central photo library should be dedicated to just your photos. Don’t mix in other types of documents, like work documents, recipes, or bills. Once it’s organized, this will make it much easier to go through your photos.

Storage
Make sure that your central photo library has enough storage for your current photo collection, as well as lots of room to grow. Taking pictures and videos these days is so easy that we often end up with more than we intended to take. And videos can take up a lot of space, depending on their length.
One of my favorite features about iPhone pictures is the Live photos. When you take a photo, it actually records a 3 second or so video, so that you can select the perfect frame for your pic. However, have you ever looked at how much memory one of those live photos takes up? And if you’re like me, you’re not just taking one or 2 pics – you’re taking 4 or 5, trying to capture the ever elusive “perfect shot”.
Safe and durable
You will also want to make sure that your central photo library is safe and durable. If you’re using a computer, how old is it? Will it be able to handle being used as a central photo library? Or does it need an upgrade?
If you decide to use an external hard drive, how up-to-date is the technology? You can get really durable external hard drives that are waterproof, shock proof, and even fireproof. This is definitely something you’re not going to want to cheap out on, so it’s a good idea to get the most durable external hard-drive that you can afford.
Creating a central photo library can easily become an overwhelming project. It can feel like you’re never going to get a handle on your photo library, because you’re constantly getting new photos to organize. The key to making this manageable is to plan out where your photos are, where they’re coming from, moving them into your library, then maintaining that flow.
Once you’re decided on a local or cloud-based solution, here are the steps to follow to setup your centralized photo library:
2. LOCATE
The first step to setting up your photo library is to actually LOCATE all your photos. Think about where all your photos are currently saved. If you’re like me, you probably have digital photos saved in multiple locations. Some come to mind easily (phone, social media), but dig a little deeper, and think about some older locations (old computer, old phone, CDs). To set up a truly comprehensive central photo library, you’ll want to spend some time locating and transferring pictures from those older locations as well.

To break this step down even further, first brainstorm all your locations. Then decide if this is a one-time transfer, or a regularly occurring transfer. For example, I have photos saved on an old computer. This will be a one-time transfer. However, my husband also takes a lot of photos on his smartphone, which means I’ll need to have a process to regularly transfer his pictures into the central photo library.
Here are some of the locations that I have:
| Location | Frequency |
| Current phone | Regular |
| Old computer | One-time |
| Husband’s phone | Regular |
| Old phone | One-time |
| USBs | One-time |
| Current computer | One-time |
| Regular | |
| Regular | |
| Tablet | Regular |
| Photo CDs | One-time |
When you brainstorm your locations into a list like this, you can start to see what’s required for each location, instead of becoming overwhelmed with thinking about ALL your photos as once. You can also check off each location as you complete the transfer over, which is always a great feeling of accomplishment!
3. INCOMING
As you’re working through your list, start to think about where your new photos are coming from. Your first answer will likely be your smartphone, but really spend some time thinking about this. Are your friends and relatives sending photos to you through email or text, or tagging you on photos they’ve uploaded in Facebook? Technology may make things easier, but it can also complicate things when you’re trying to streamline!

Start by taking a look at the list you completed in step 1. Any locations that you identified as regularly occurring will have new incoming photos on a regular basis. This is now your incoming list.
| Location | Frequency |
| Current phone | Regular |
| Husband’s phone | Regular |
| Regular | |
| Regular | |
| Tablet | Regular |
| Emails | Regular |
| Texts | Regular |
4. MOVE
Once you’ve brainstormed your incoming list, you need to think about how you’re going to, on a regular basis, move all your new photos into your central photo library?
For each source of incoming photos, think about the most simplified process you can think of to get those pics into your central photo library. Simple is key. Let’s be honest: if it’s not simple, you probably won’t do it! And since you probably have more than one incoming source of photos, you’re going to have more than one process to move those pics into your central photo library.
For each incoming source, come up with process that is going to work for you. Here are some examples:
Smartphone

On a regular basis, like weekly or monthly, sync your smartphone photos to your central photo library. If your photo library is on your computer, you can do this manually by connecting your smartphone to your computer, or have it automatically sync.
If your photo library is cloud-based, then you’ll probably want to auto sync your phone with your cloud-based service, so that you don’t even have to think twice about it.
Text or other apps
TApps (like What’s App) often have settings where you can have any photos shared through the app be automatically saved on your smartphone’s camera roll. This makes it much easier for those photos to be saved to your central photo library along with the rest of the photos on your smartphone. This doesn’t just save you ONE step – it saves you a step for every single picture!
Social media accounts
Some of us have a significant amount of pictures coming to us from various social media accounts. Again, the key is to simplify and automate this as much as possible.
For example, this article talks about using Zapier to automate your processes so that pictures are automatically saved from one app to another (like photos from Facebook automatically getting saved into Dropbox). That way you don’t even have to think about it. Pretty sweet!
This might need to be a manual process, but it may only need to be one step. You could either save them to your smartphone camera roll, or if your computer is your central photo hub, then you can save them directly to your computer. Similar to your social media process, Zapier can also be used to automate this, as outlined in this article.
TIP: when coming up with your processes, actually write them all down! This may seem silly, but if you create checklists for each of your processes, you’re actually making it more of a work flow, which is easier for you to follow because you don’t have to try to remember all the steps.
5. MAINTAIN
Now that you’ve figured out the process for each incoming source, you just need to follow that process. Simple, right?? Well, for many of us, this is actually the hardest part. But don’t let all that time go to waste! It’s much easier to maintain a system once it gets going than it is to set it all up again. And keep thinking of the pay off – an organized photo library that is easy to access and that you know is complete!

Remember, too that every new habit takes a bit of time to really sink in. So, it may seem really hard at first, but the more you do it, the easier it’ll become.
Also, keep in mind that technology is always changing, so there might be new ways of automating your processes.
Don’t get discouraged! It may seem overwhelming, but that’s because you probably don’t currently have a system in place. Once you get your system in place, it’s just a matter of maintaining it. And the end result is totally worth it – you know where ALL your pictures are located, they’re organized, they’re backed up regularly so you won’t lose them, and you can easily order prints or photobooks. I think that is totally worth a few hours of time setting up a central photo library!
Here’s a summary of the 5 steps:
- Designate
- Locate
- Incoming
- Move
- Maintain
